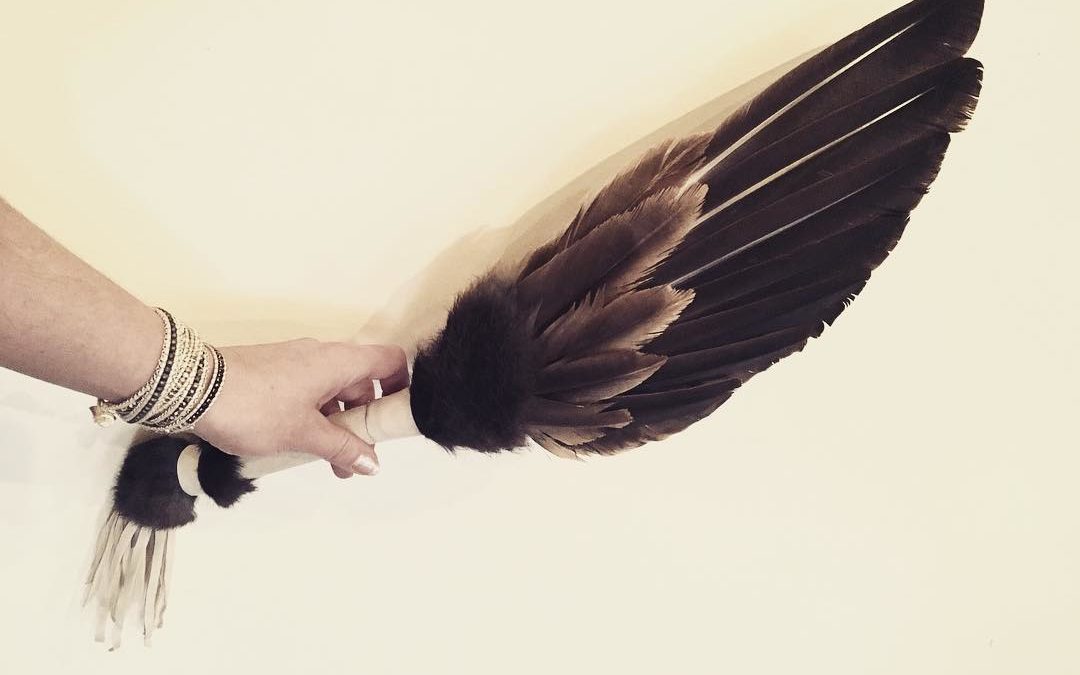
Feather Care
Feathers are obviously delicate and fragile, but they are a lot more durable than you may think. These few tips will help keep your feathers vibrant and long-lasting for years to come.
- STEAM.
This is the primary secret to great looking, healthy plumes. Did you get your feathers all in a bunch? Are they bent and wonky? Dry and crispy? Squished and flattened? It may look like the end of the road for some of your feathers, but before you give up on them, try something steamy. You may be amazed at the results.
All you need is a blast of steam to set them straight again. Really, a hot, wet cloud of air is like a magic makeover to drabby, rumpled feathers. You can literally watch the kinks straighten out in seconds while the plumes fluff back up to their original shape.
The best tool for steaming is a garment steamer. I use a travel steamer by ESTEAM. It is compact, handheld and gives off a mighty and uninterrupted steamy plume. You can find one easily online for around $55.00. Having one around is also useful for taking the wrinkles out of your nice, silky garments without the use of an iron.
You can also use a steam iron and aim the steam blast on to your feathers. This takes a bit more patience, but it does the trick. Just be very careful of the hot iron plate and dripping boiling water. Ouch! ..been there.
If you do not have a steam iron or a steamer, you may be able to use the steam jet from a boiling kettle. An electric one is preferable than one you use on a stove top. Feathers are like hair and burn easily, so if you are steaming over a gas range, the flames can easily destroy the plumage even if they are being held away from fire. An electric stove would obviously be better than gas if you are employing this method. I strongly suggest getting a steam iron or garment steamer, because this method will take forever, but I mention it because it’s a decent option in a pinch.
Steam your feathers regularly to keep them happy and vibrant. Regular steaming will not only keep them looking their best, but will also protect them from breakage as a result of being too dry.
- MITE CONTROL
FREEZING: This should be done occasionally to treat or prevent any dust mites or moth larvae that may have found your feathers. These tiny buggers feed on skin, hair and any other organic material they can find. Yeah, it’s gross. Placing your feathers in a freezer for 24 hours can kill off any eggs, larvae or mites that may be hiding out. You can usually tell if you have a problem if there are tiny holes in your feathers, or if the edges are getting nibbled. Basically, if your feathers are starting to disintegrate, you have a mite or moth problem. Freeze them immediately, and thoroughly clean the area where you had them displayed or stored.
If your feathers were resting on any fabric or other material, be sure to wash it, also. If they were atop leather or fur, freeze that too. It’s a good idea to keep feathers from resting on material or anything that can hold moisture. Dust mites thrive in dark places where moisture can be trapped. They are microscopic so even humidity in material can provide drinking water for them. I have noticed that feathers which are nestled in fabrics tend to be a preferred place for mites to call home. Be careful when arranging your altars or display areas, and if you do use fabric, make sure the feathers do not rest on it. If you must rest your feathers on fabric, then clean and freeze them regularly.
ESSENTIAL OIL: There are many essential oils that deter mites and moths. After my seasonal feather freezing, I spray a mixture of some essential oils, diluted with water on my feathers to keep the bugs from being interested in the first place.
Here’s a list of oils that kill or repel dust mites.
Eucalyptus
Tea Tree
Melaleuca
Lavender
Lemon
Peppermint
Spearmint
Cinnamon
Clove
I like to add cedar wood oil to the mix because it is a moth repellent.
If you are storing your feathers in a box, then a nice cedar box is best, or you can use cedar sachets. Additionally, you can drop a few drops of essential oil onto a cloth or paper towel and keep it with your feathers.
If you have found feathers outside, then it is important to freeze them for at least 24 hours before displaying them in your home or using them. You probably want to wash them or give them a good hot steaming. Check for bugs.
3. WASHING: This isn’t that fun, but is necessary sometimes. If your feathers have gotten wet, then dried all bunched up, or if you have gotten something on them, then it’s time for a washin’.
Feathers are like hair, so I like to take them to the salon in my sink and give them the works. Shampoo first, but be careful to only rub in the direction of the filaments, as they are fragile and you don’t want to bend them more than you have to. Rinse. Then condition. Rinse again, thoroughly, making sure you got all of the conditioner out of the feathers.
The final trick is a Cornstarch rinse. I use a tablespoon per sink basin of water. Swish the feathers around in the milky water for a few seconds before drying.
To Dry: Lay the feathers on a dry towel, and place another dry towel on top of them. Press down firmly to soak up as much water as possible. Once your feathers are damp dry, it’s time for a blow out. Use a hair dryer to dry them. If you let them air dry, they will look like they do now, and will stick that way. No amount of steaming will get them back and you’ll have to do it all over again… well, at least the cornstarch rinse and towel dry.
Blow dry your feathers until they are completely dry. It’s fun to watch them fluff up in the process.
When all of your feathers are dry, steam them. Now they are all clean and good to go, and they smell fresh, too.
I hope these tips help you keep your beautiful feathers looking and feeling their best.
Love,
Ka